Getting started with OBS: A beginner’s guide
Learn the OBS basics for recording and streaming, from scenes and sources to audio setup, resolution and first-stream preparation.
OBS is an amazing tool for creators, if you want to live stream; record your videos or even do both at the same time. This guide will focus on beginner advice, and a later guide will tackle more advanced advice regarding the use of OBS and the YouTube Live Dashboard.
If you haven’t already, you can download OBS from the official website. Once you installed it, there should be an auto-configuration setup. You can follow it if you want to get a somewhat sensible baseline of settings, but sooner or later you will need to go into the settings we present here anyway to unlock the full potential of OBS.
On Bitrates, Framerates and Resolutions
For streaming, your biggest roadblock is probably going to be your upload speed. In many cases, upload speed is just a small fraction (10-20%) of your download speed. So before you stream, make sure you test your speed beforehand. You can try some for the following services to get an estimate:
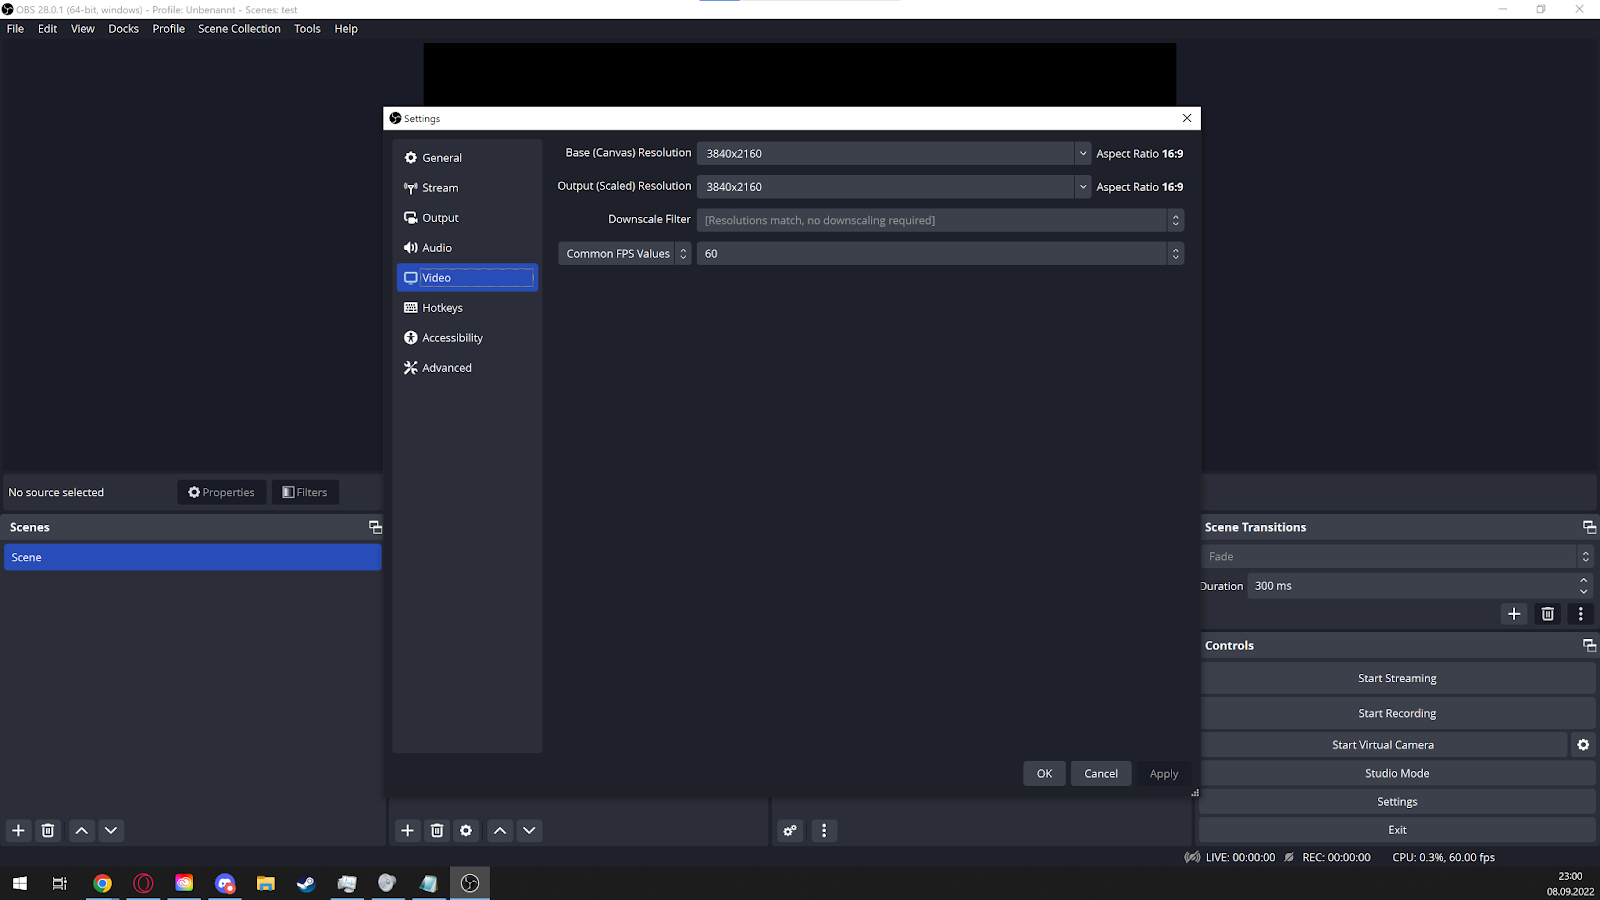
Once you get your result, check the spreadsheet in YouTube’s bitrate and resolution guide and see which resolutions fit with your bandwidth. Then, in OBS, go to Settings → Videoto set the resolution, and Settings → Outputto set the bitrate you want.
Make sure you set the Output Mode to “Advanced”.

**Note:**Make sure you leave some headroomso you have some bandwidth available for online gaming, discord and natural fluctuations in upload speed that might happen while you’re streaming.
Example
Let’s say my internet can do 25,000 kbit/s down and 5,000 kbit/s up. I subtract a bit of headroom and know that I probably can have somewhere between 4,000 and 4,500 kbit/s for just my stream. In the YouTube guide, I see 2 options which fit me well:
- 720p, 60 fps – 2,250 kbit/s to 6000 kbit/s: This would give me smooth 60 fps streaming, with pretty much the best quality that 720p can offer. This setting would be ideal for fast-paced shooters like Apex Legends.
- 1080p, 30 fps – 3000 kbit/s to 6000 kbit/s: This would give a higher resolution and still be smooth enough. For slower (“cinematic”) games, strategy games and especially point’n’click games and “just talking” streams, this is a good setting. For faster games, a lot of it will likely be very blurry.
- The following option seems like it’d barely fit, but it probably isn’t a good idea to use: 1080p, 60 fps – 4500 kbit/s to 9000 kbit/s: At this rate, I’m very close to the best my internet can do, and while a stream like this would be possible, the result will probably be worse than the above options. Compared to 1080p, 30fps, each bit you stream now needs to serve twice as many pixels, so the quality for all images will be fairly reduced. And compared to 720p60, you will probably have a very similar quality anyway .
Again: All of the above assumes my internet upload speed can do 5000 kbit/s at most.
If you don’t stream, you can in theory crank your bitrate as high as you want for your recordings. In practice, it’s useful to follow YouTube’s guide on bitrates for uploads (they’re somewhat higher than streaming rates) to keep file sizes in check:
- 1 hour of 8000 kbit/s (recommended for 720p60 and 1080p) takes up 3.6 GB
- 1 hour at 12,000 kbit/s (recommended for 1080p60) takes up 5.4 GB
- 1 hour at 60,000 kbit/s (recommended for 4K60) takes up 27 GB.
As for resolution, the same recommendations as above apply: If a resolution is too high for your bitrate (for example, 8000 kbit/s for 1080p60 video), the video will end up somewhat blurry. And if you use a bitrate that’s too high for your resolution, you just unnecessarily increase the file size.
Recording videos
If you record videos, you just need to specify where you want your recordings to be saved to in OBS’ Settings → Output(by default it picks your home directory). In there, you also set how good you want the quality to be (High quality, medium file size probably is good enough; if you go higher, make sure your drive can write data that quickly and has enough storage space available.

As a recording format, you can either pick mkv, which has the advantage that it can survive a crash or bluescreen, but the disadvantage is that some video editors don’t play too nicely with it – or mp4 or mov. But those have it in reverse; they’re supported by basically everything, but will corrupt entirely on error. If you have the hard drive space to do it, you can record in mkv, then remux (either automatically by OBS, or with tools like handbrake) them to a format which your editor supports.
Regardless of what you do, there’s two settings which probably are useful for you:
- in OBS → Settings → Output , you should try using a hardware encoder, unless you have a very high end CPU. Nvidia’s NVENC in particular is very good at its job. If you don’t have a GPU yet (or not even a PC), you may want to check out our getting started on a budget guide.
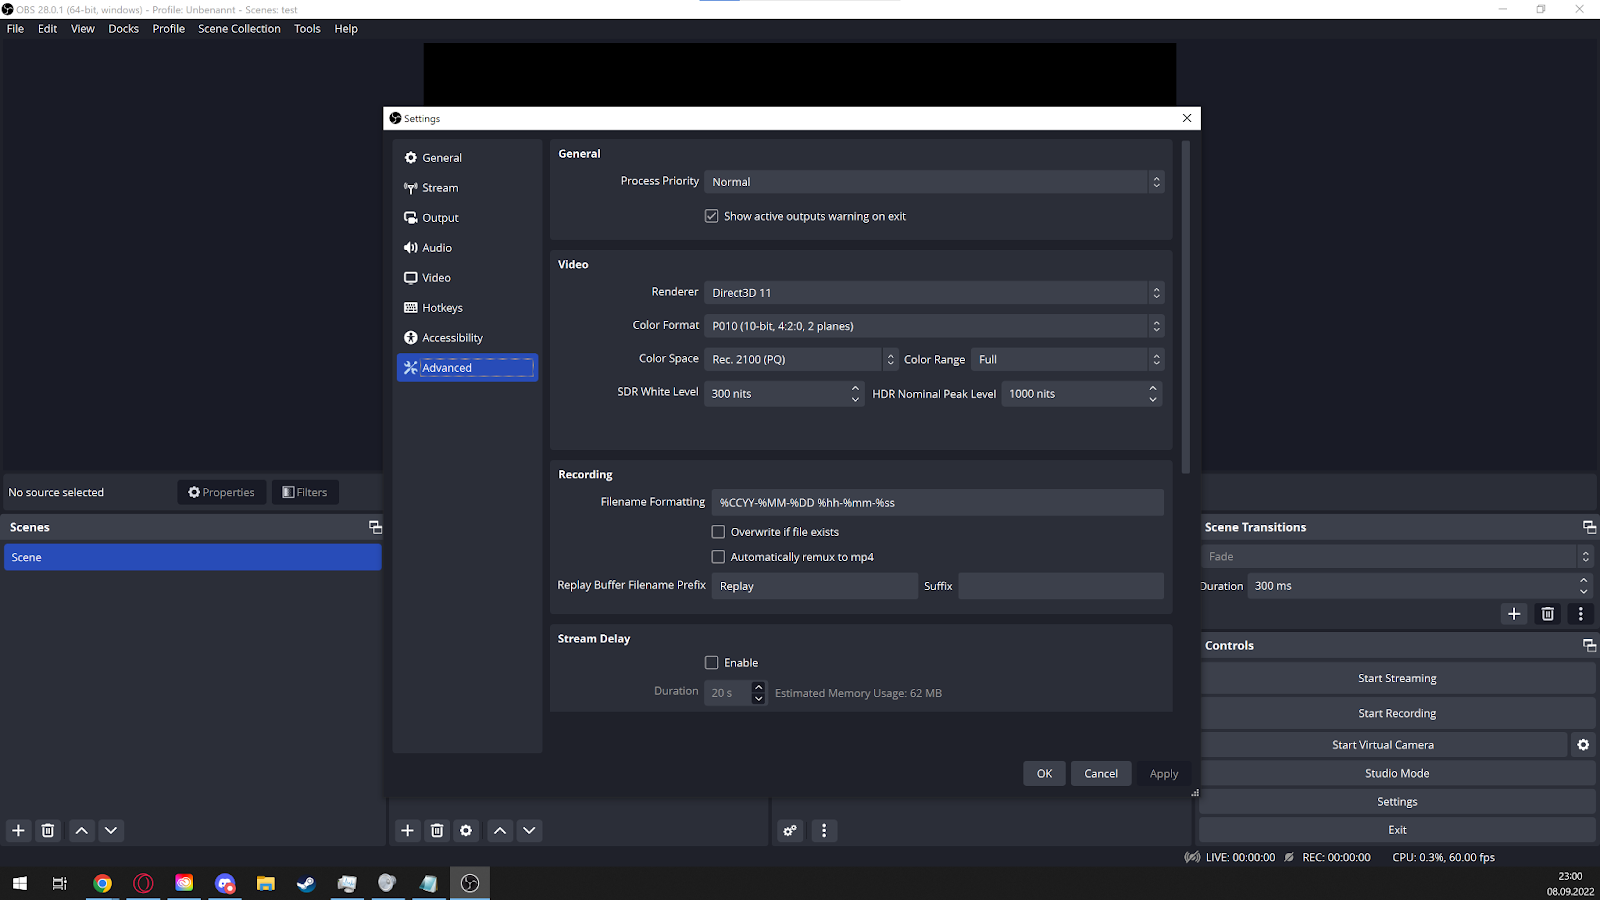
- In OBS → Settings → Advanced , you can set the color space to 709 (601 was made for 480i content), and set the color range to “full” (“limited” is mostly for TV content )
Scenes and sources
So, now we’ve set up the various things needed to stream and record, except the one that you probably care about: What is actually visible on the video or stream?! That’s what you need scenes and sources for.
A source is a description of an (image) input. A scene is a collection of sources, already ordered, so you can quickly switch between things.
In general, it’s useful to have the following scenes ready:
- Your normal recording/streaming scene, which probably has your webcam and game visible
- A webcam-only scene, so you can just talk to your chat, while setting things up, or record a vlog-style video
- A break/technical difficulties scene, in case something goes wrong and you need to quickly switch away from what you’d normally show, or you just want to take a break.
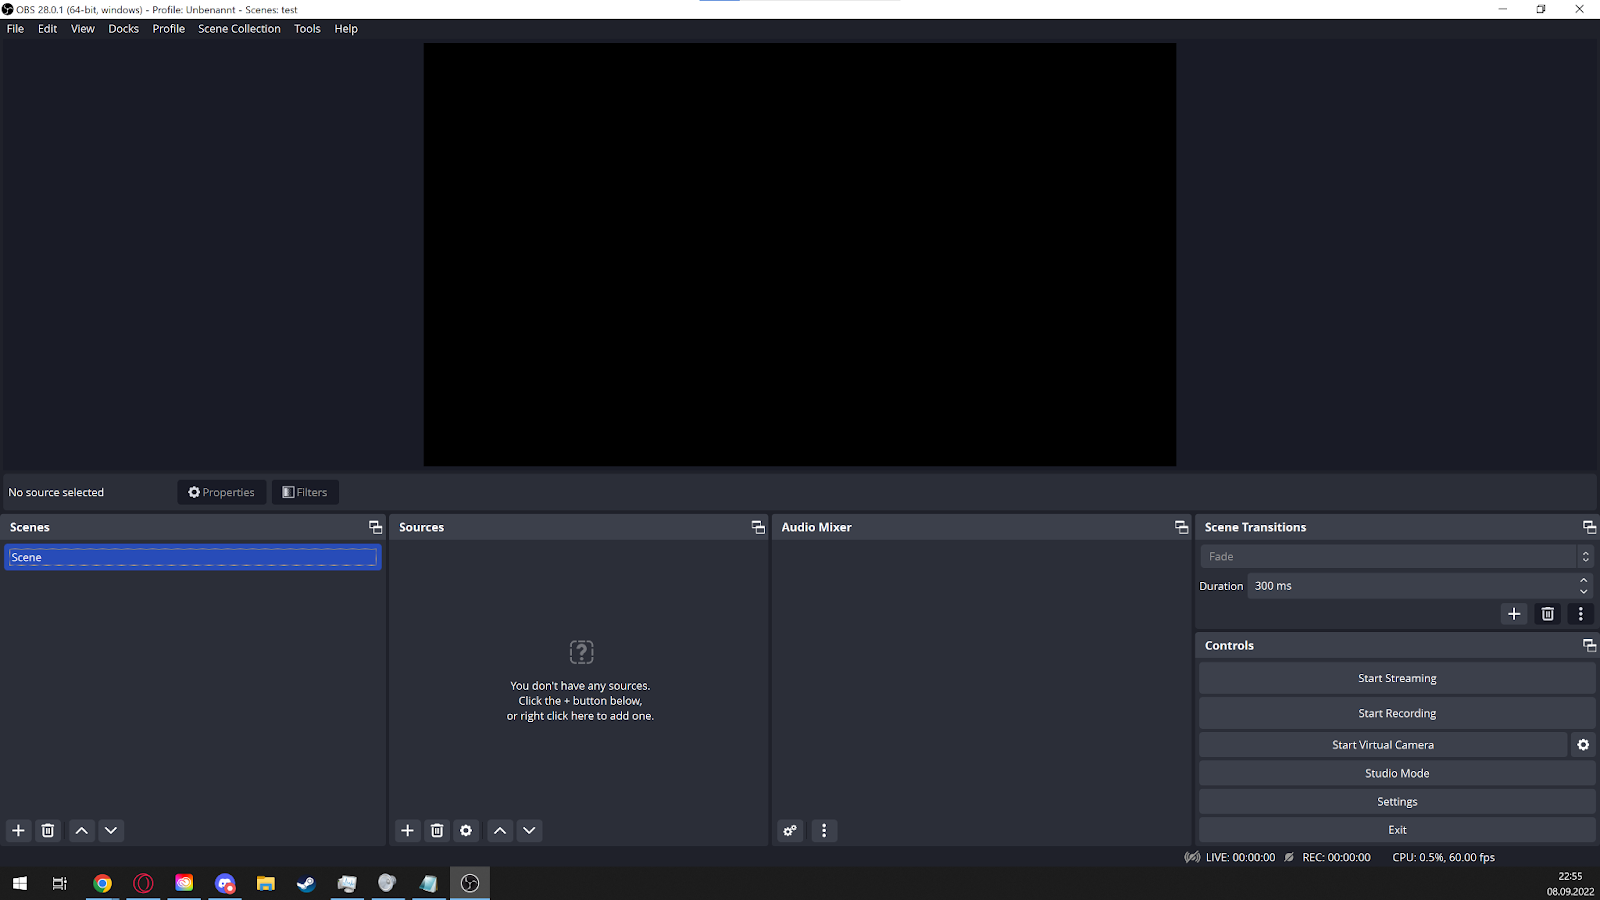
Now that you have the scenes, let’s add sources to them!
Note: Your sources will be in a layer stack. This means that the source listed at the top will be shown above all the ones below it. If you can’t seem to find your source, check if it’s high enough up in your stack, or if it’s being hidden by one of the elements above it!
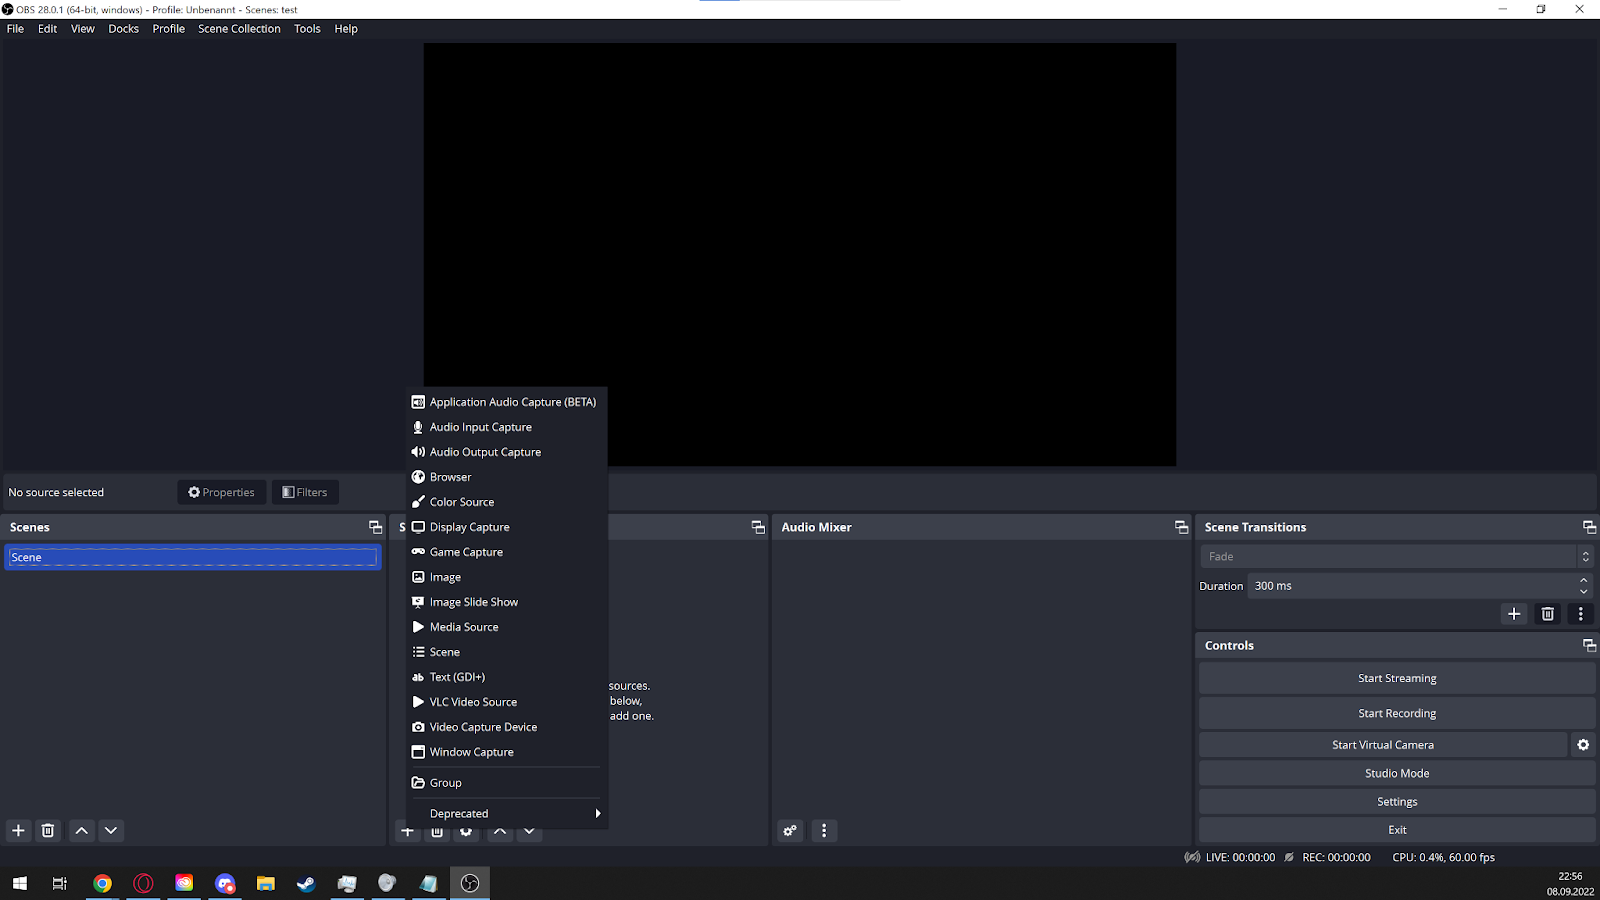
- To add your webcam/external HDMI recorder, add a video capture device
- To record a game, add a game capture . You can set this up so that it always captures a fullscreen application, or, if you don’t run in fullscreen, specify which window title to capture. Game capture is your best bet at capturing most things.If game capture doesn’t work, you may want to try using a window capture or the display capture . Note that the display capture will capture everything shown on screen: Embarrassing notifications, photos, and passwords included. Window and game capture are your better options.
- To add static elements, such as a stream overlay or some text, add an image source (for static images), a media source (for videos and sounds), or a text source (have a guess what that does).
- You can add Filters to your sources which can enable you to for example set up a greenscreen capture in OBS itself.
Alternatively you can use PCIe Capture Cards like the AverMedia GC573 or Elgato 4K60 Pro MK.2 to capture an HDMI signal either as a duplicate of what is sent to your screen or as an external input from a DSLR or gaming console.
You can move your sources on screen by simply dragging them around with your cursor. Clicking the edges will scale them while preserving aspect ratio, alt-clicking the corners allows you to squish things.
Further reading
- The OBS Wiki
- Our discord server: https://discord.gg/youtubegaming
OBS is a powerful tool for creators, but it can be confusing for beginners. If you're new to OBS, check out our Tools for more tips and tricks to get the most out of this streaming software, or contact our expert below.

Written by
Leo Wattenberg
Author of kw.media blog posts about YouTube, creator strategy, VTubing and platform questions.